One of the most commonly injured body parts in sports is the shoulder, and there’s likely not one person alive who’s not heard of the term: rotator cuff.
That said, there is another area of the shoulder that can cause havoc, especially in exercisers who train with weights, which most likely be just about everyone bar marathon runners. This problematic little structure is called the acromioclavicular joint (AC joint).
What is it?
Your AC joint is formed by articulation of the clavicle (collarbone) and the acromion, which is a bony process popping out from your scapula (shoulder blade). The AC joint helps transmit forces through your upper extremity to the axial skeleton.
How you hurt it
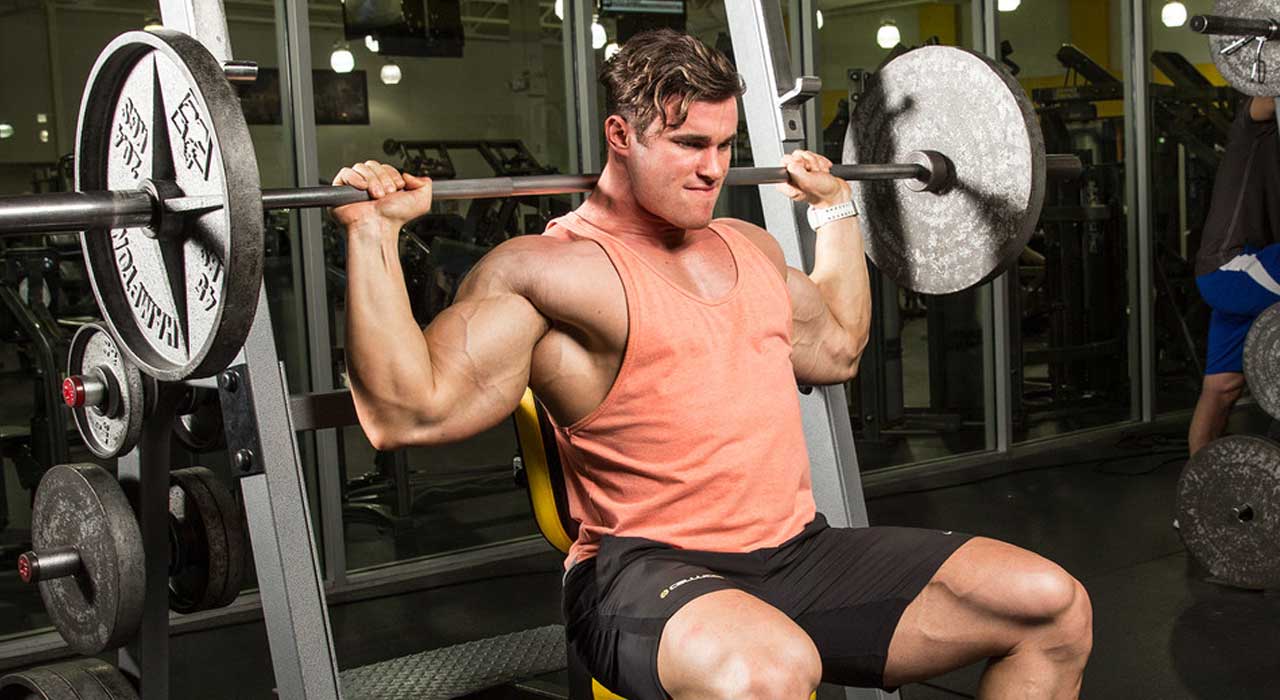
The AC joint can compress and shear during weight training. This is more likely to happen during pressing movements, especially while you’re bench pressing. Over time, this can actually cause arthritis in the joint. The joint can also become injured if you land on your shoulder, and this impact can cause ligaments to tear and disrupt the joint. This is called a shoulder separation.
How long until you’re back?
Depending on the severity of your injury, a separated shoulder is usually accompanied by an elevated clavicle or bump on the top of the shoulder. The initial treatment for shoulder separations would include immobilizing it, and a special brace can be used to realign the joint.
You’d also need to ice the shoulder for approximately 20 minutes every couple of hours, which can help reduce swelling and pain. Painkillers and anti-inflammatory drugs might be needed if the injury’s too painful.
Exercise band moves
Bands come in different tensions and it’s best to begin with a light one and work your way up to heavier ones. Perform each of the below exercises for three sets of 15-20 reps, then repeat with the opposite arm.
- Internal rotation: For internal rotation stand with the band attached to a doorway on the same side as the arm being exercised. It should be even with your elbow. Your upper arm should be flush with your side and your elbow bent to 90º. Keeping your elbow into your side, rotate your arm across your body. Conversely, for external rotation the band will be on the opposite side of the arm being exercised. Again, keep your elbow locked to your side and rotate your arm away from your body.
- Abduction: Position the band lower than the previous exercise. It can be placed about mid-calf level or lower. The band will be positioned on the doorway opposite to the arm being exercised. Abduct the arm across your body and up to shoulder level for one rep.
- Front raise: The band is positioned on the doorway behind you. At the same height as with abduction, perform front raises to shoulder height.
Find more health and fitness advice in every issue of TRAIN magazine.